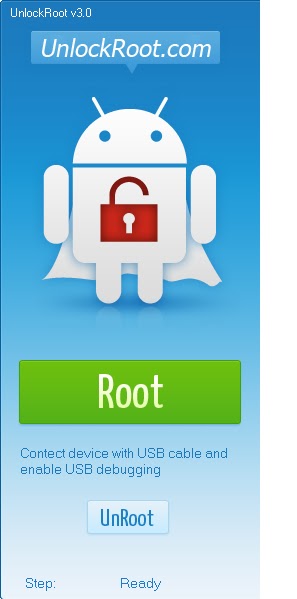
برنامج Unlock Root v3.0
يعمل على فتح الروت لأجهزة الاندرويد
لتحميل اخر اصدار للبرنامج
Unlock Root v3.0
Unlock Root tools,One Click Root, Support all Android
2.2/2.3/3.0/4.0/4.1 devices,Easy to get root access Permissions, E.g.
HTC/Samsung/LG/Huawei/Moto.
Everything has become very simple, you only need to connect the phone to
your computer (in charge mode and with debugging enabled by USB) and
after it is determined to press the button "Root", if you want to unlock
your smartphone, or "UnRoot" if you want In contrast, close access to
system folders of your device.
Enable USB Debugging On Your Android Device
Step 1. Launch the Settings app on your phone. This can be found in your App Drawer, or by Pressing the menu button on the outside of your device.
Step 2.Tap Applications.
Step 3. Tap Development.
Step 4. Check the box for USB debugging.*
*You can also Enable, Stay Awake and Allow mock locations to make things easier when you are running tests.
Done!
Your phone should now be in Debug Mode, if you go into the notification bar you’ll find an Ongoing alert stating USB debugging connected.
Note that even while USB debug mode is enabled you can still Mount your
Android phone to your computer to transfer files without causing any
problems!

How to Root Your Phone/Tablet
- Your device must be in USB Debugging mode. To turn it on, go to Settings > Applications > Development and check the box.
- Connect your device to your PC, Run UnlockRoot.exe,
- Click “Unlock Root”, Enjoy!
-- Support Samsung Galaxy Note2/SIII 4.1.1
-- Support Samsung Galaxy Note/SII 4.0.3
-- Support Samsung Amazon Kindle Fire 6.3.1
-- Support Android 2.2-2.3,4.0.0-4.0.3
Quick Help
Easily to do this:
- Install the USB drivers for your device before you use Unlock
Root. You can usually download the drivers from your device
manufacturer's website. Or, if you received a driver CD together with
your device, install the drivers using the installer on the CD. - Download the Unlock Root.
- Enable USB Debugging mode on your device. You can do this by
going to Settings > Applications > Development on your device. - Connect your device to your PC via USB cable.
- Run "unlockroot.exe". Wait for your handset to be automatically detected.
- Choose your device from the list of autodetected devices.
- Click the Root button to start the rooting process.
- Wait for it to complete the installation, after which you'll
be greeted with a message saying your device has been successfully
rooted. - After the rooting process, simply reboot your device for the changes to take effect.
- Congratulations! You have successfully rooted your device. You
can check whether or not you have root access by locating the Superuser
app on your device or installing an app that requires root access.
- Version: v3.0
- Updated: November 8,2012
- OS: Windows XP/Vista/7/8
Download Chinese version here (58.17MB)

